My aunt's 60th birthday is this Monday. (UPDATE: Just to let you know, I started this post in February. It's now August. I can't even excuse that one. Anyway...) Now, she's a spunky lady and has been taking her age very gracefully as long as I've known her. We've had a tough couple of years in this family... we lost our matriarch, my uncle (her husband), and there's been some family discord... without going into too much detail, I just decided it was time to try to bring some harmony back in with a surprise party! We've never done much in the way of surprises so it's uncharted territory. She doesn't have Facebook so it's been really easy to hide all the planning, haha.
Our theme is "Take Me Out to the Ballgame!", specifically the New York Mets (we have some Yankee fans in the family too) because she is certainly a die-hard fan. She would tell me about how her and her father would listen to the games growing up and we have many, many, MANY photos from great games at Shea and Citi Field back when we had season tickets. What can I say, orange and blue runs through our veins.
I decided to take on a few projects to make this party pop without shelling out tons of dough on Mets-branded party supplies -- not that you can find any around here! We're in the tri-state area but Yankees and Red Sox run the show in most retailers. To be a true Mets fan is to accept disapointment I suppose. :P One project was turning an thrift store corkboard Ms. E and I bought a long while back into a chalkboard scoreboard. We have a problem with corkboards and our desire to bring home even the weirdest, most tattered and this one was no different. It was water stained and a bit torn up on the front. We were going to recover it much like the command station one a while back but instead, it sat in the corner until I cooked up this idea and dug it out. Shall we get to it, then?
First step's first... I decided to take a risk and see if I couldn't just paint the back of this thing with chalkboard paint. Turns out, yes. It's got a bit of texture to it but its quite nice, very vintage feeling. If you'd like less texture, I suggest priming it first with a couple coats of flat paint but... honestly, too lazy. You're going to want to start this process early...

Nice, long strokes...


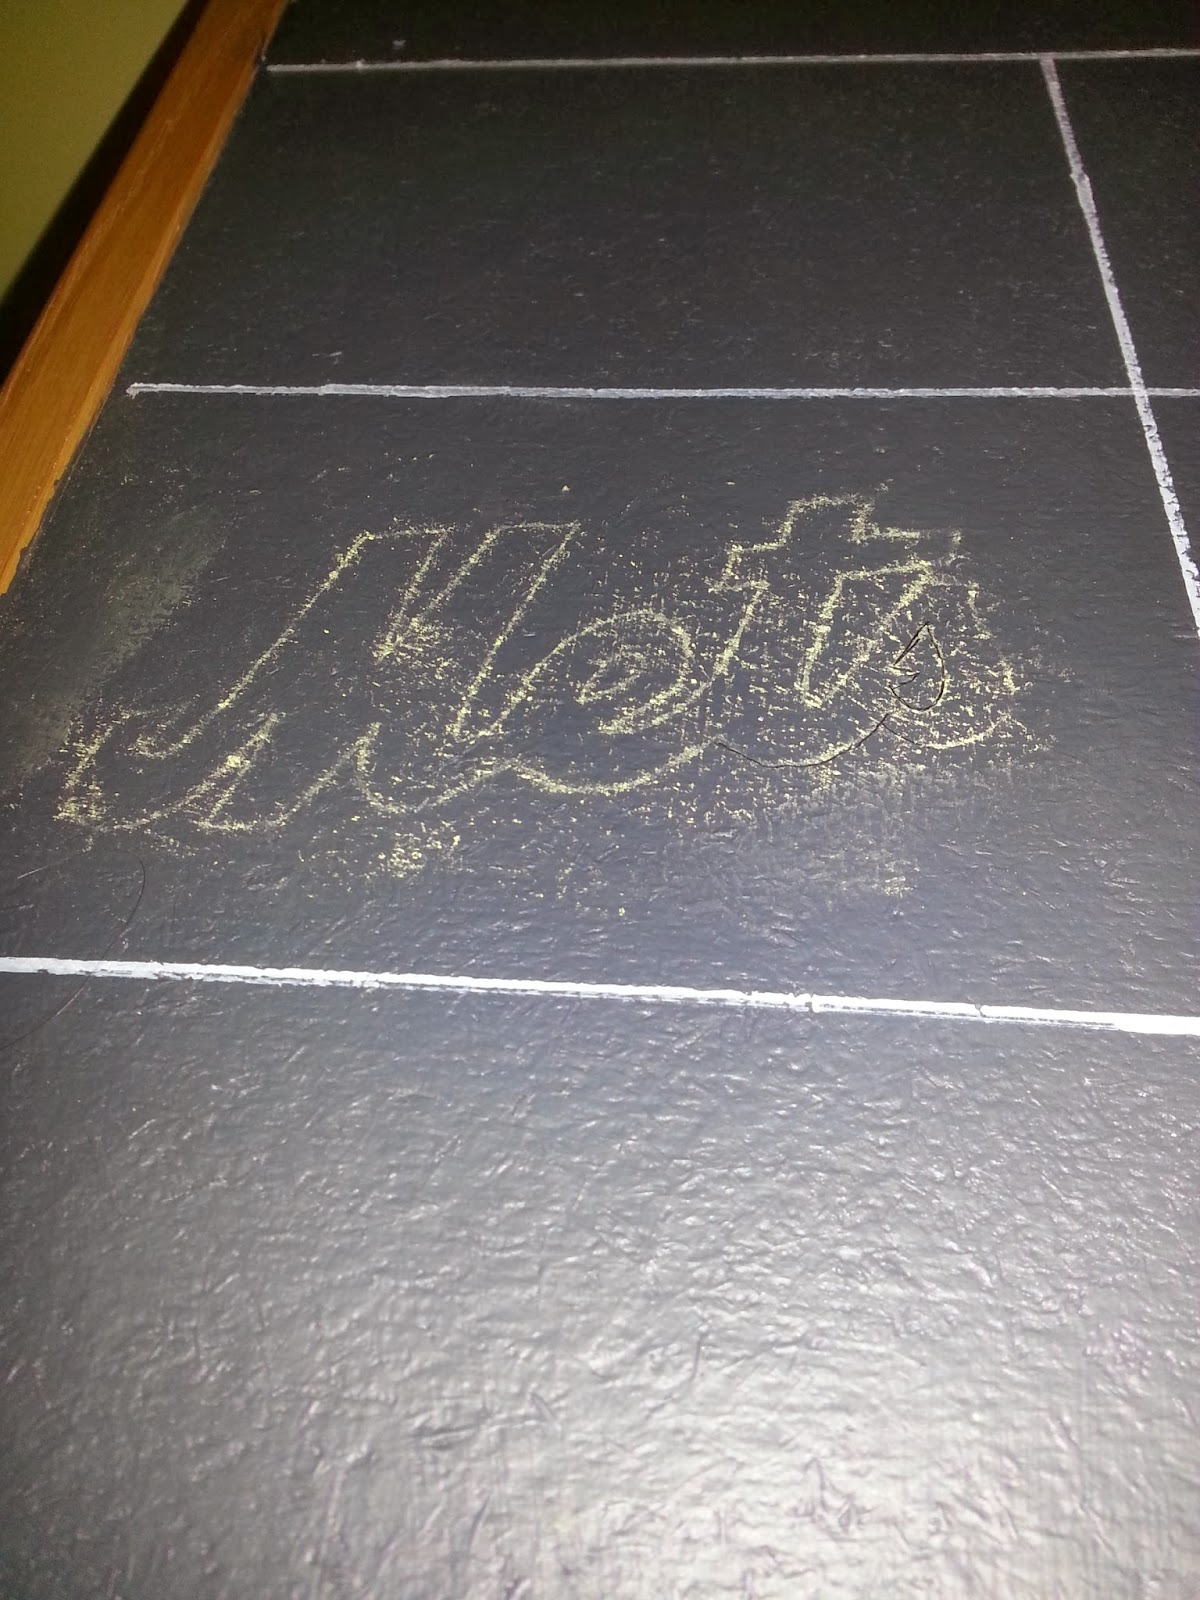
The easiest way I know to transfer in this case was printing out my logo then covering the back with a nice, healthy layer of chalk. I then traced the front of the image, leaving a nice, faint chalk outline to fill in! I did this with all my lettering.


The finished product! It took me a couple hours and a lot of patience with that damned marker but VOILA! The perfect present. :)