Showing posts with label display. Show all posts

Wednesday, May 22, 2013

DIY Upcycled Corkboard

Well hello dere!

It's been a lovely few weeks here with the wonderful Miss E and we've finally had a day off together that didn't involve family parties (birthday, mother's day... all the days!), distracting boyfriends, or general exhaustion. We set out to do ALL THE THINGS. Well, we did some of the things... and ate a lot of food.

One of the things we tackled today was setting up our new "Command Center" in order to make sure we're both on the same page. You know, when you just don't catch the, "I won't be home for dinner tonight", as the other person whizzes past with a bagel in their mouth. Also known as "every morning".


Anyway, so here's how we started! I grabbed this currently defunct cork board from work. Now, someone obviously snagged it in the past from either a liquor store or a restaurant considering the fact it's a booze promotion. It's really just a red wooden frame with a cork board on one side and a cheap-o blackboard on the other, nothing super high end. Ask around non-chain restaurants/bars or liquor stores if they have any they're not using. I have to imagine they get more of these than they could ever even use...


Moving on... so we covered it! Because frankly, I prefer wine and no one in my family needs further reason to poke fun at my affinity for the drink or my inability to stop giggling after one or two. We used some leftover scrapbook paper rather than going out and buying poster backing. Since the dimensions on this particular cork board meant we needed at least three pieces of the same paper (we didn't have that), we opted to create a border around two pieces we liked. I simply just cut down the middle of the blue patterned paper (no need for a pretty edge, you're just going to hide it under the square bits in the center). The paper is stapled on so in the future, if we want to swap it out, no big deal. I toyed with the idea of modge podging it on or using the foam adhesive squares but eh, I wasn't that motivated. A few staples did nicely.


You could easily stop here and have a pretty nice corkboard. But we're overachievers and wanted to be able to catch our mail on this "command center". So I stole borrowed some bully clips from work to hang from the edge of our board. Originally, I planned to just use a few small nails and hang them that way. While I was searching the drawers for the plastic case, I began to realize my mother may have taken them with her when she took her tool kit to the new house. D'OH. But I found something  better! Small screw-in hooks! We so fancy.


First, I measured out how much space I was going to need between the hooks. We had enough room for eight of them. I made my marks and lightly tapped a thumbtack to make a starting hole for the hooks to thread on to. They weren't too hard to screw in, you can get about halfway with your fingers before succumbing to pliers.

But be careful you don't accidentally break the hook with your She-Hulk force...
Oops. This is when you cover the broken post with red marker, whistle innocently, and screw a second hook in right next to the broken one...


Here's the finished product! Easy peesy lemon squeezy, right?

Let the pinning begin!


Sunday, April 21, 2013

DIY Party: Wall Decor

I have always been obsessed with fun backgrounds for photos.  It's always fun to be able to take pictures at parties and have something pretty or exciting behind you instead of someone's backyard, right?  Enjoy the compilation I've put together and please share some of your own ideas, I'd love to hear them!

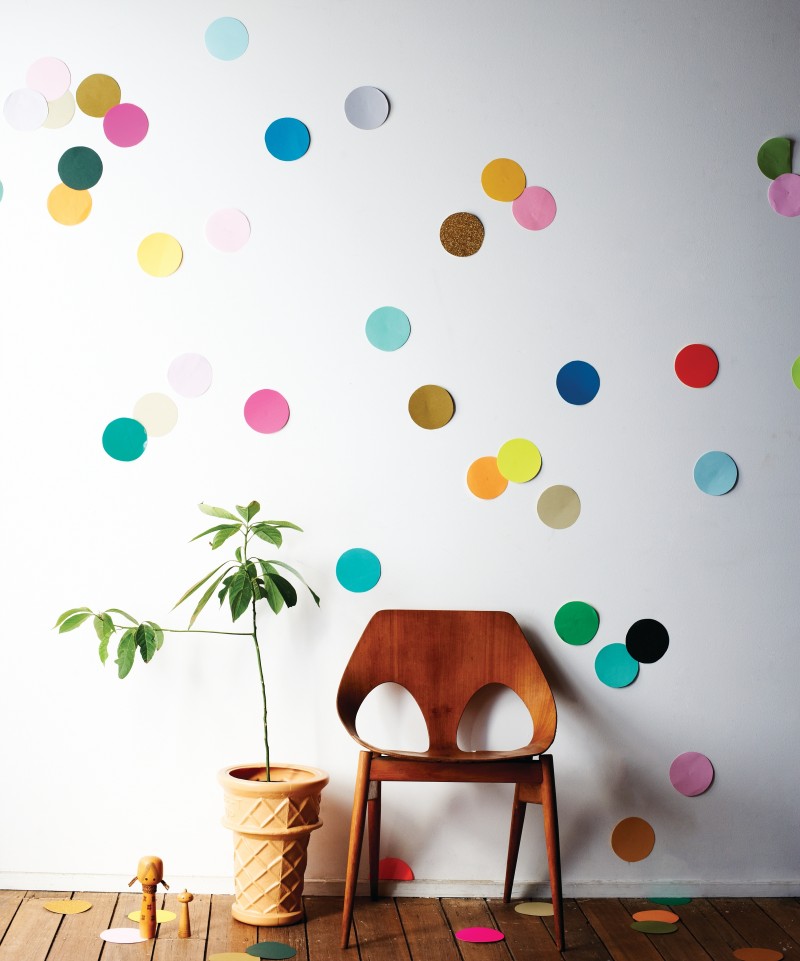
Wee Birdy has a very cute and very simple (READ: easy) idea with this giant wall confetti!

Now, this picture from Oh Joy! didn't seem to have any instructions with it, but I love this idea!  If you take streamers or ribbons or whatever you would like for the background and sandwich the tops of the strands between two pieces of tape, you would easily be able to hang it on a wall or between two posts.
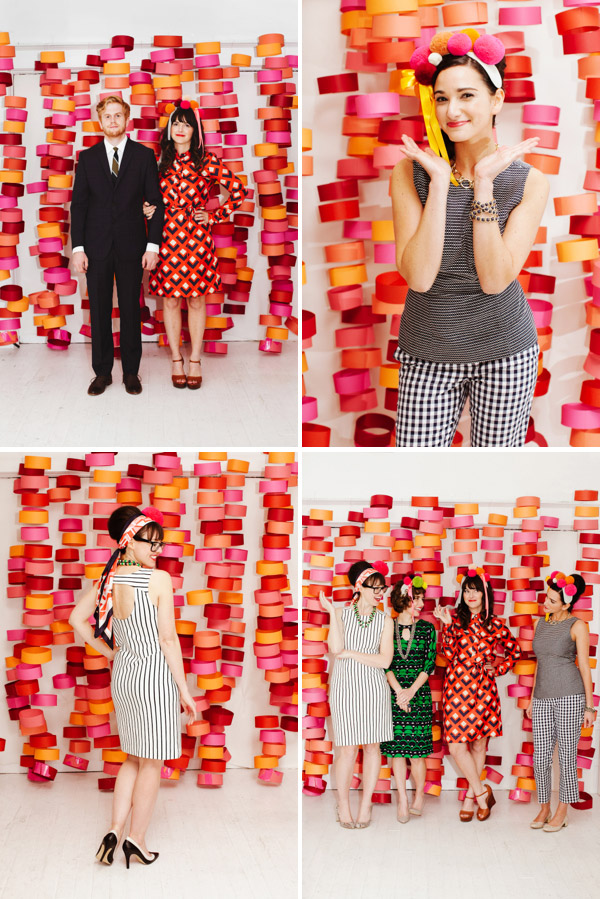
Oh Happy Day had a cute idea for a circle photo booth backdrop, which is absolutely adorable.  However, to make it a little less complicated, you could swap out the sewing machine and just tape the insides of the circles to the thread.

For holiday times, I love string lights as a backdrop in pictures.  Instructables has a neat How To to make the lights diffused and less glaring by covering the little bulbs with ping pong balls!

Speaking of string lights, I have been absolutely in love with this idea since I first saw it on Pinterest.  I have a sincere love for canvas, which is how we plan to decorate most of the rooms in our home once everything gets settled.  Apartment Therapy combines those two things (lights and canvas) with some stickers and spray paint and showcased some absolutely lovely wall art.  I can just imagine the huge ones as cute summer night backdrops or, if you use snowflakes, Christmas party/card backgrounds!

I hope you liked some of these!  Please let me know what you think in the comments below and share your ideas!

Tuesday, April 16, 2013

DIY Party: Centerpiece Ideas

Hey everyone!  Welcome to the first installment of the DIY Party series!  This is going to be five sections of DIY party ideas that I have found (and love!) through Pinterest and I cannot wait to start using them!

First off, I found possibly the cutest way to recycle cans from tomatoes or canned fruits.
All you have to do is clean out the can, cover with funky duct tape (which come in a thousand patterns and colors now) and add a ribbon.  So cute and simple, I can't believe I hadn't though of it before now.

Next, from Smart School House, I found this adorable and incredibly easy way to have flower lights be a part of the table without the real-life flames and fire hazard.

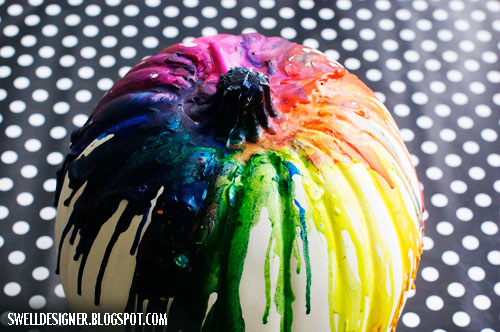
Here, I found a great fall centerpiece. Yes, I've already got my mind on fall, but when don't I?  I absolutely love this idea and I tried it last year with my preschool class but my hair dryer is cheap and didn't get hot enough so I'm determined to try again (and succeed) this year.


Finally, I saw this really cute idea on Pinterest, but the source was just the picture itself.  The idea is to have a styrofoam ball and a large candle holder.  Candle holders generally have a spike that goes through the bottom of the candle, which you will need to poke through the bottom of the styrofoam ball.  Then, poke the sticks of as many lollipops as you can fit into the styrofoam to make this cute little "Sucker Ball".

Thanks for stopping by!  Next DIY is party games!

Tuesday, April 9, 2013

The Easiest Picture Display

Hey everyone!  The next few weeks will be posts about things I plan to do when/after I move in with Miss K.  Since I will be moving in two weeks (and have been packing everything) I can't really pull things out and do the project itself, so I'll be showing you the ideas and sharing my own and I will do a follow-up post after they're finished.  Sound good? Good. It better.

The majority of these ideas came from Pinterest (because I'm an uncontrollable addict).  The first one I'm really excited to try is this photo display idea, which I've also seen in the background of ARose186's (Arden) videos on youtube (which can be found here!)

I can't wait to try this out!  If you've tried it, post a picture and show us what you came up with!